

Beginner Bouldering Footwork Techniques
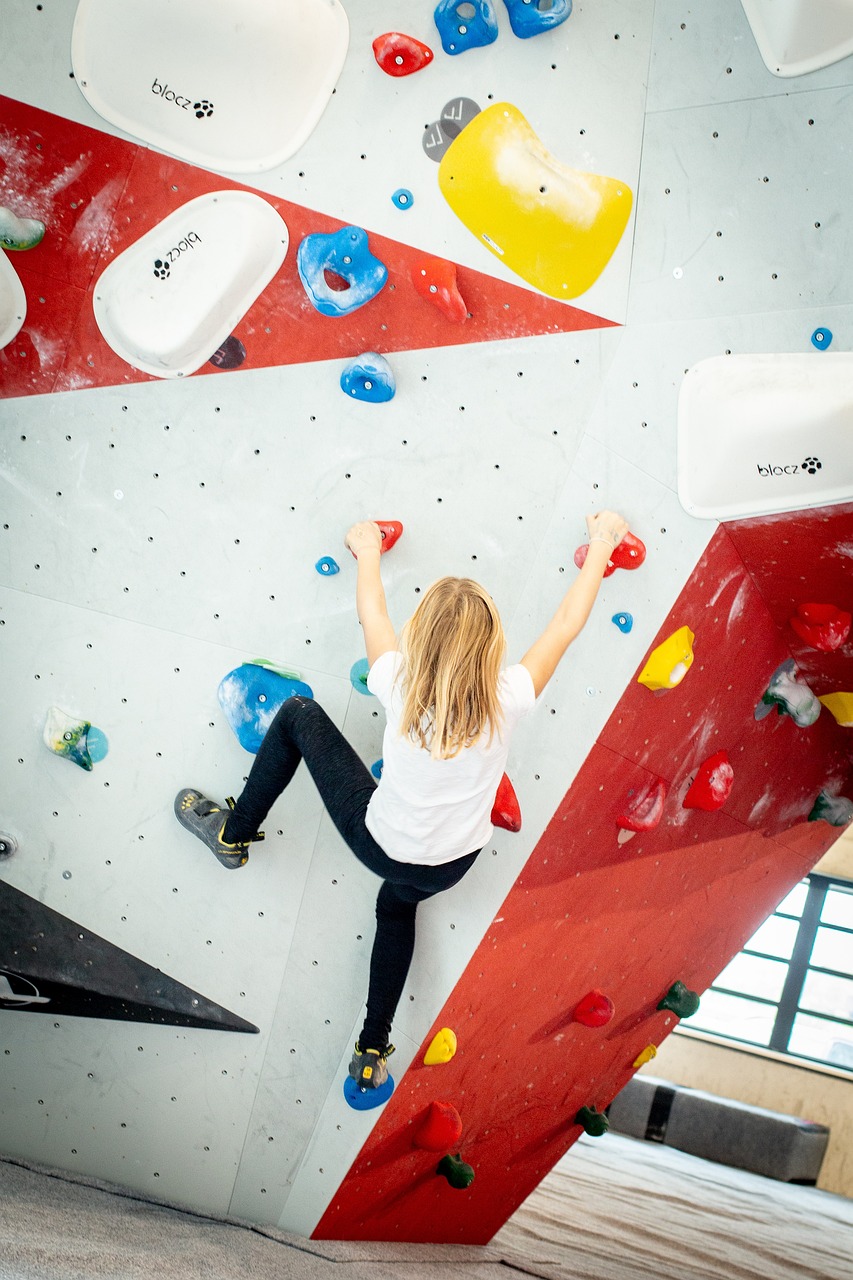
A lot of beginners I see focus on pulling with their arms, but the stronger climbers I’ve trained with (and tried to learn from) rely on their feet just as much—usually more. After 8 years of bouldering, competing, and coaching friends through the same early mistakes, the biggest change I push is simple: I place my toe exactly where I want it, then I keep that foot firm and steady instead of readjusting mid-move. I always look at the foothold until my shoe is set, then I drive through my legs to stand up, not “pull-up” my way to the next hold. One of the best beginner bouldering techniques I’ve used over and over is to trust my feet and let my arms act like guides for balance while my legs do most of the heavy lifting.
Beginner Balancing Techniques
One of the biggest things I’ve learned in my years of bouldering is that my hips control almost everything—balance, efficiency, and how “heavy” the wall feels. Whenever I’m struggling on a problem, the first thing I check isn’t my grip or my strength…it’s where my hips are. If my hips swing away from the wall, my hands instantly feel heavier, my arms start doing extra work, and I get tired way faster than I should. I’ve had so many climbs where the holds felt impossible, and then the moment I pulled my hips in and shifted my weight properly, the exact same move suddenly felt manageable.
When I’m climbing well, I try to keep my hips closer to the wall and stay aware of where my body weight is sitting. Instead of pulling straight up and hoping it works, I shift my weight side to side as I move—almost like I’m constantly “stacking” my body over the foot that’s supporting me. That weight shift is huge, especially on problems with smaller footholds, sidepulls, or moves where you have to reach far. If my hips are drifting, I’m basically asking my arms to do the job my legs should be doing.
A cue I use all the time is: “hips first, then hands.” Before I reach for the next hold, I ask myself, Where do my hips need to go so I stay balanced? Sometimes that means turning my hips toward the wall, sometimes it means dropping a hip to one side, and sometimes it means stepping my foot a little higher so my hips can follow. Thinking this way keeps me from rushing and makes my movement smoother. It also helps me climb more safely, because I’m less likely to cut feet unexpectedly or swing off in a bad position.
This is one of those beginner bouldering techniques that makes harder walls feel easier almost immediately, because it improves your climbing without needing more strength. Once you start paying attention to hip position and weight shifts, you’ll notice you can hold positions longer, your feet slip less, and your arms don’t get pumped as fast. It’s honestly one of the fastest “level-up” skills you can build as a new climber.
Beginner Movement Techniques
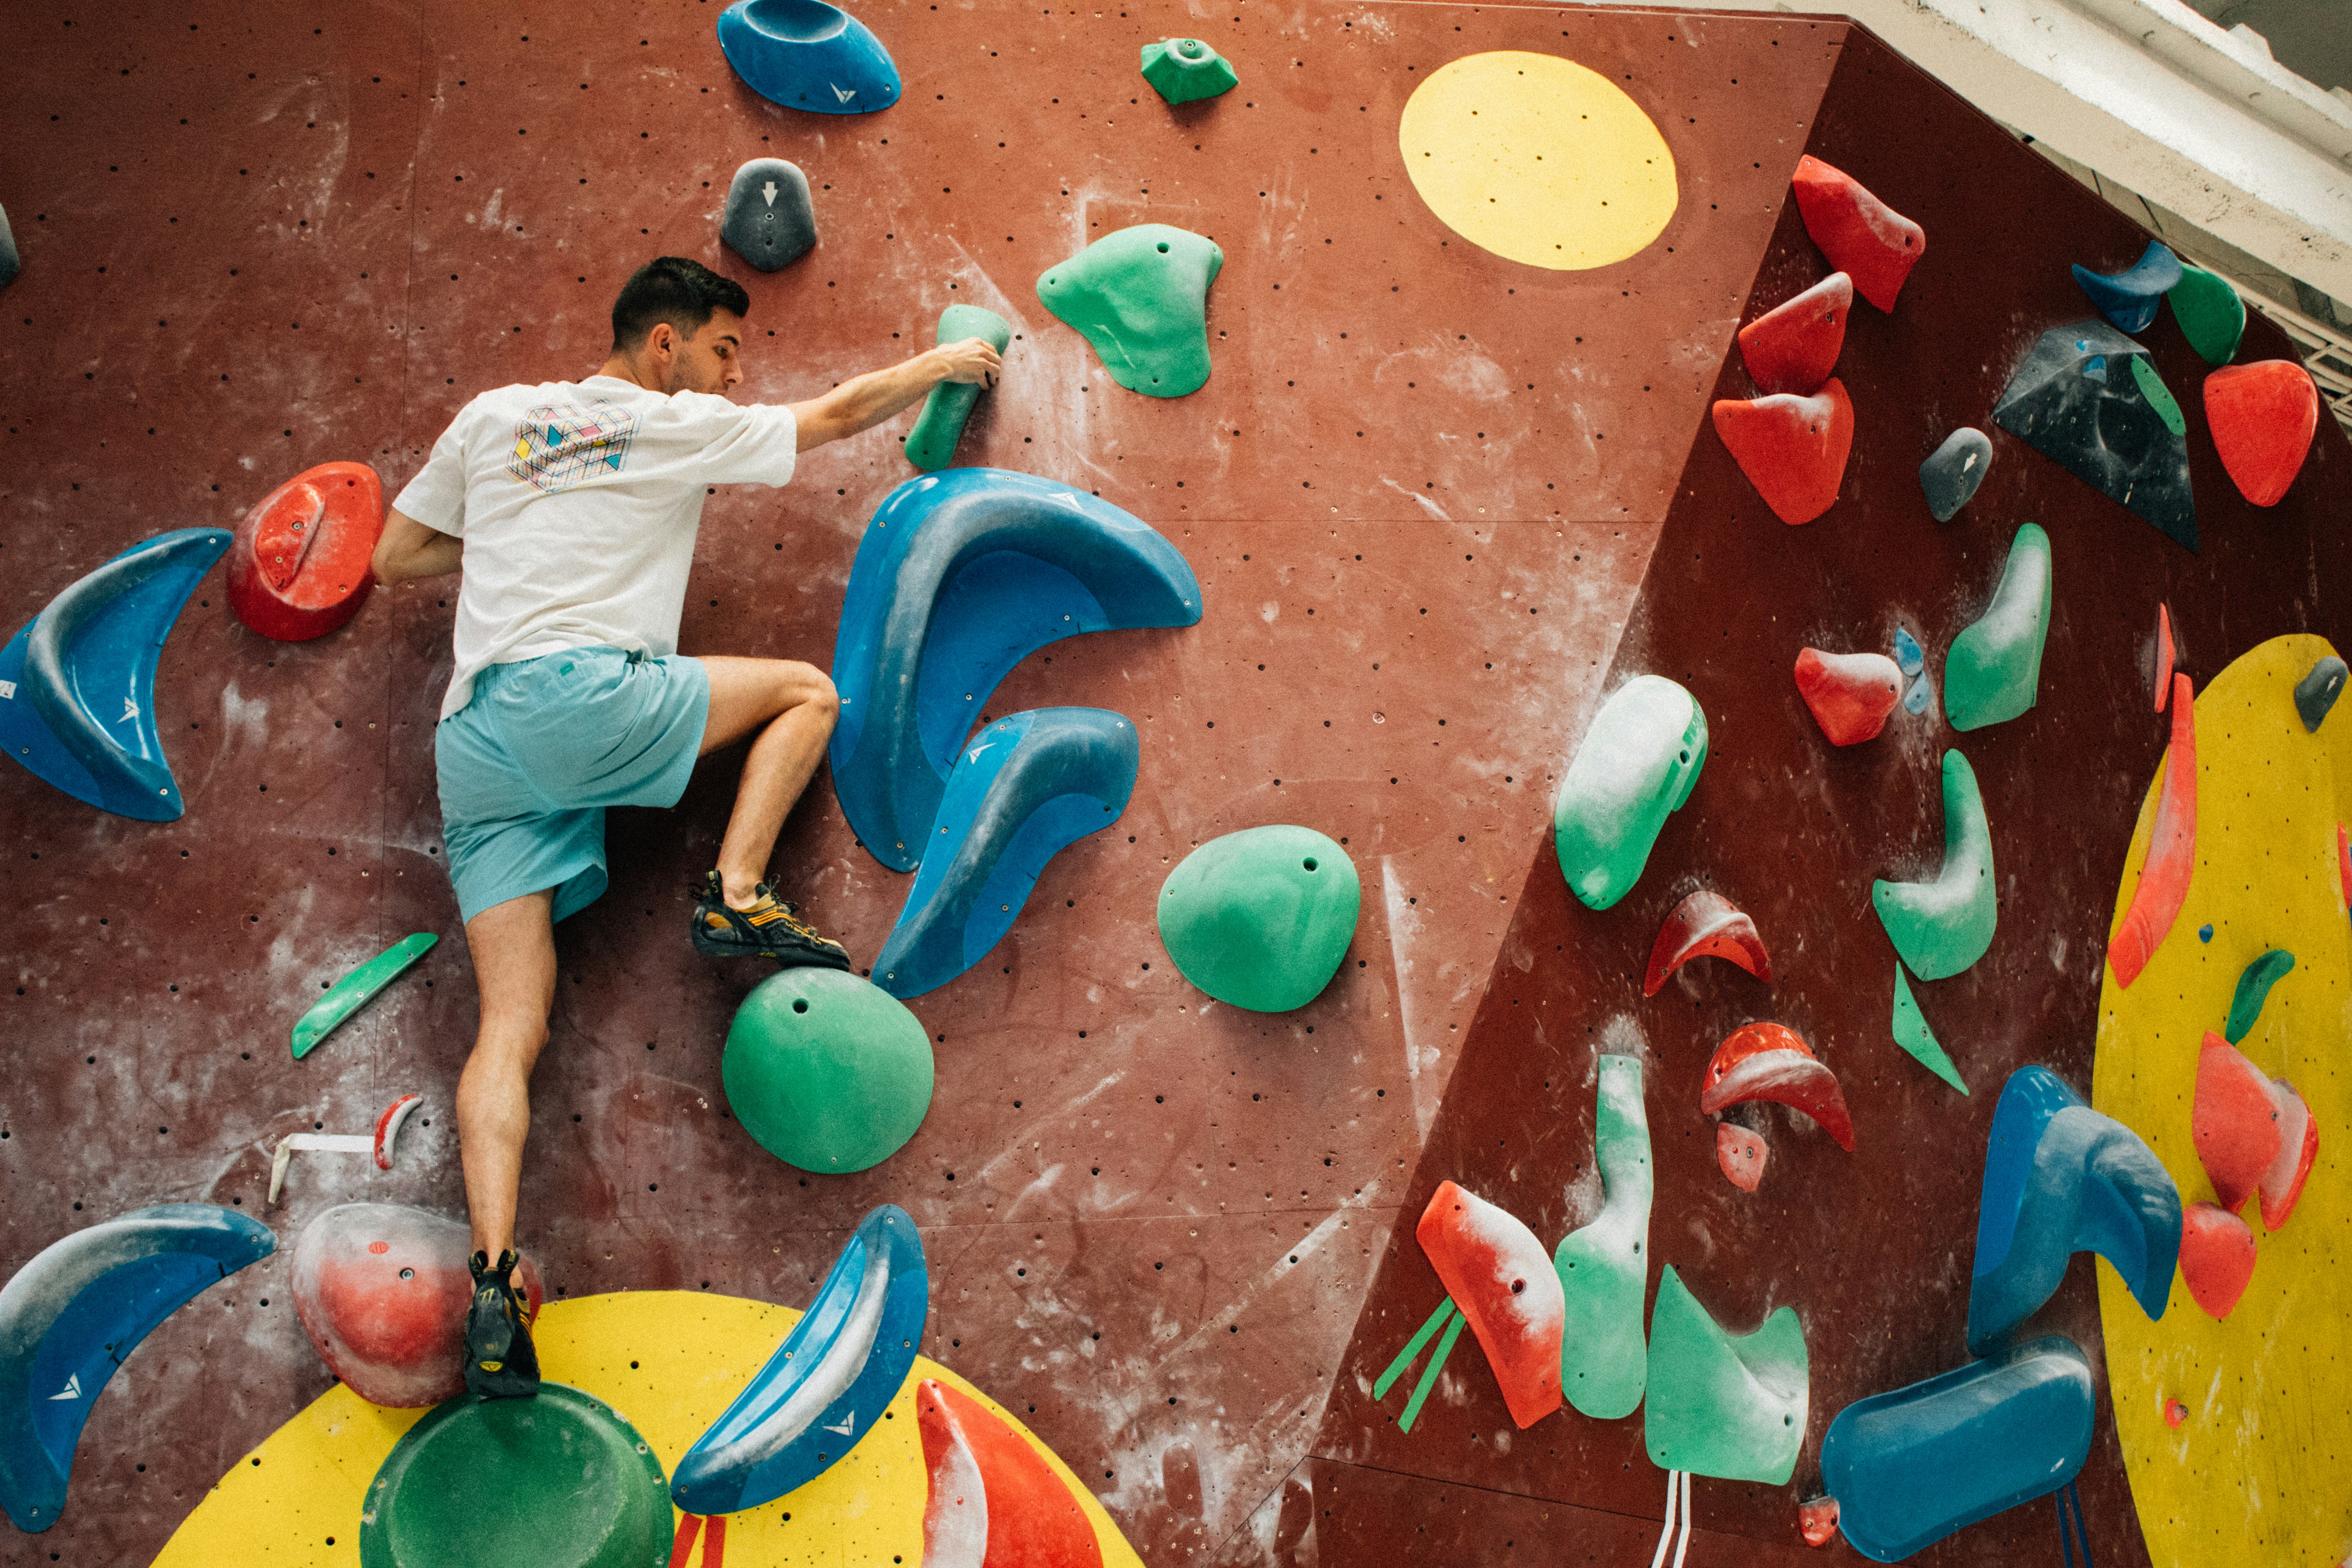
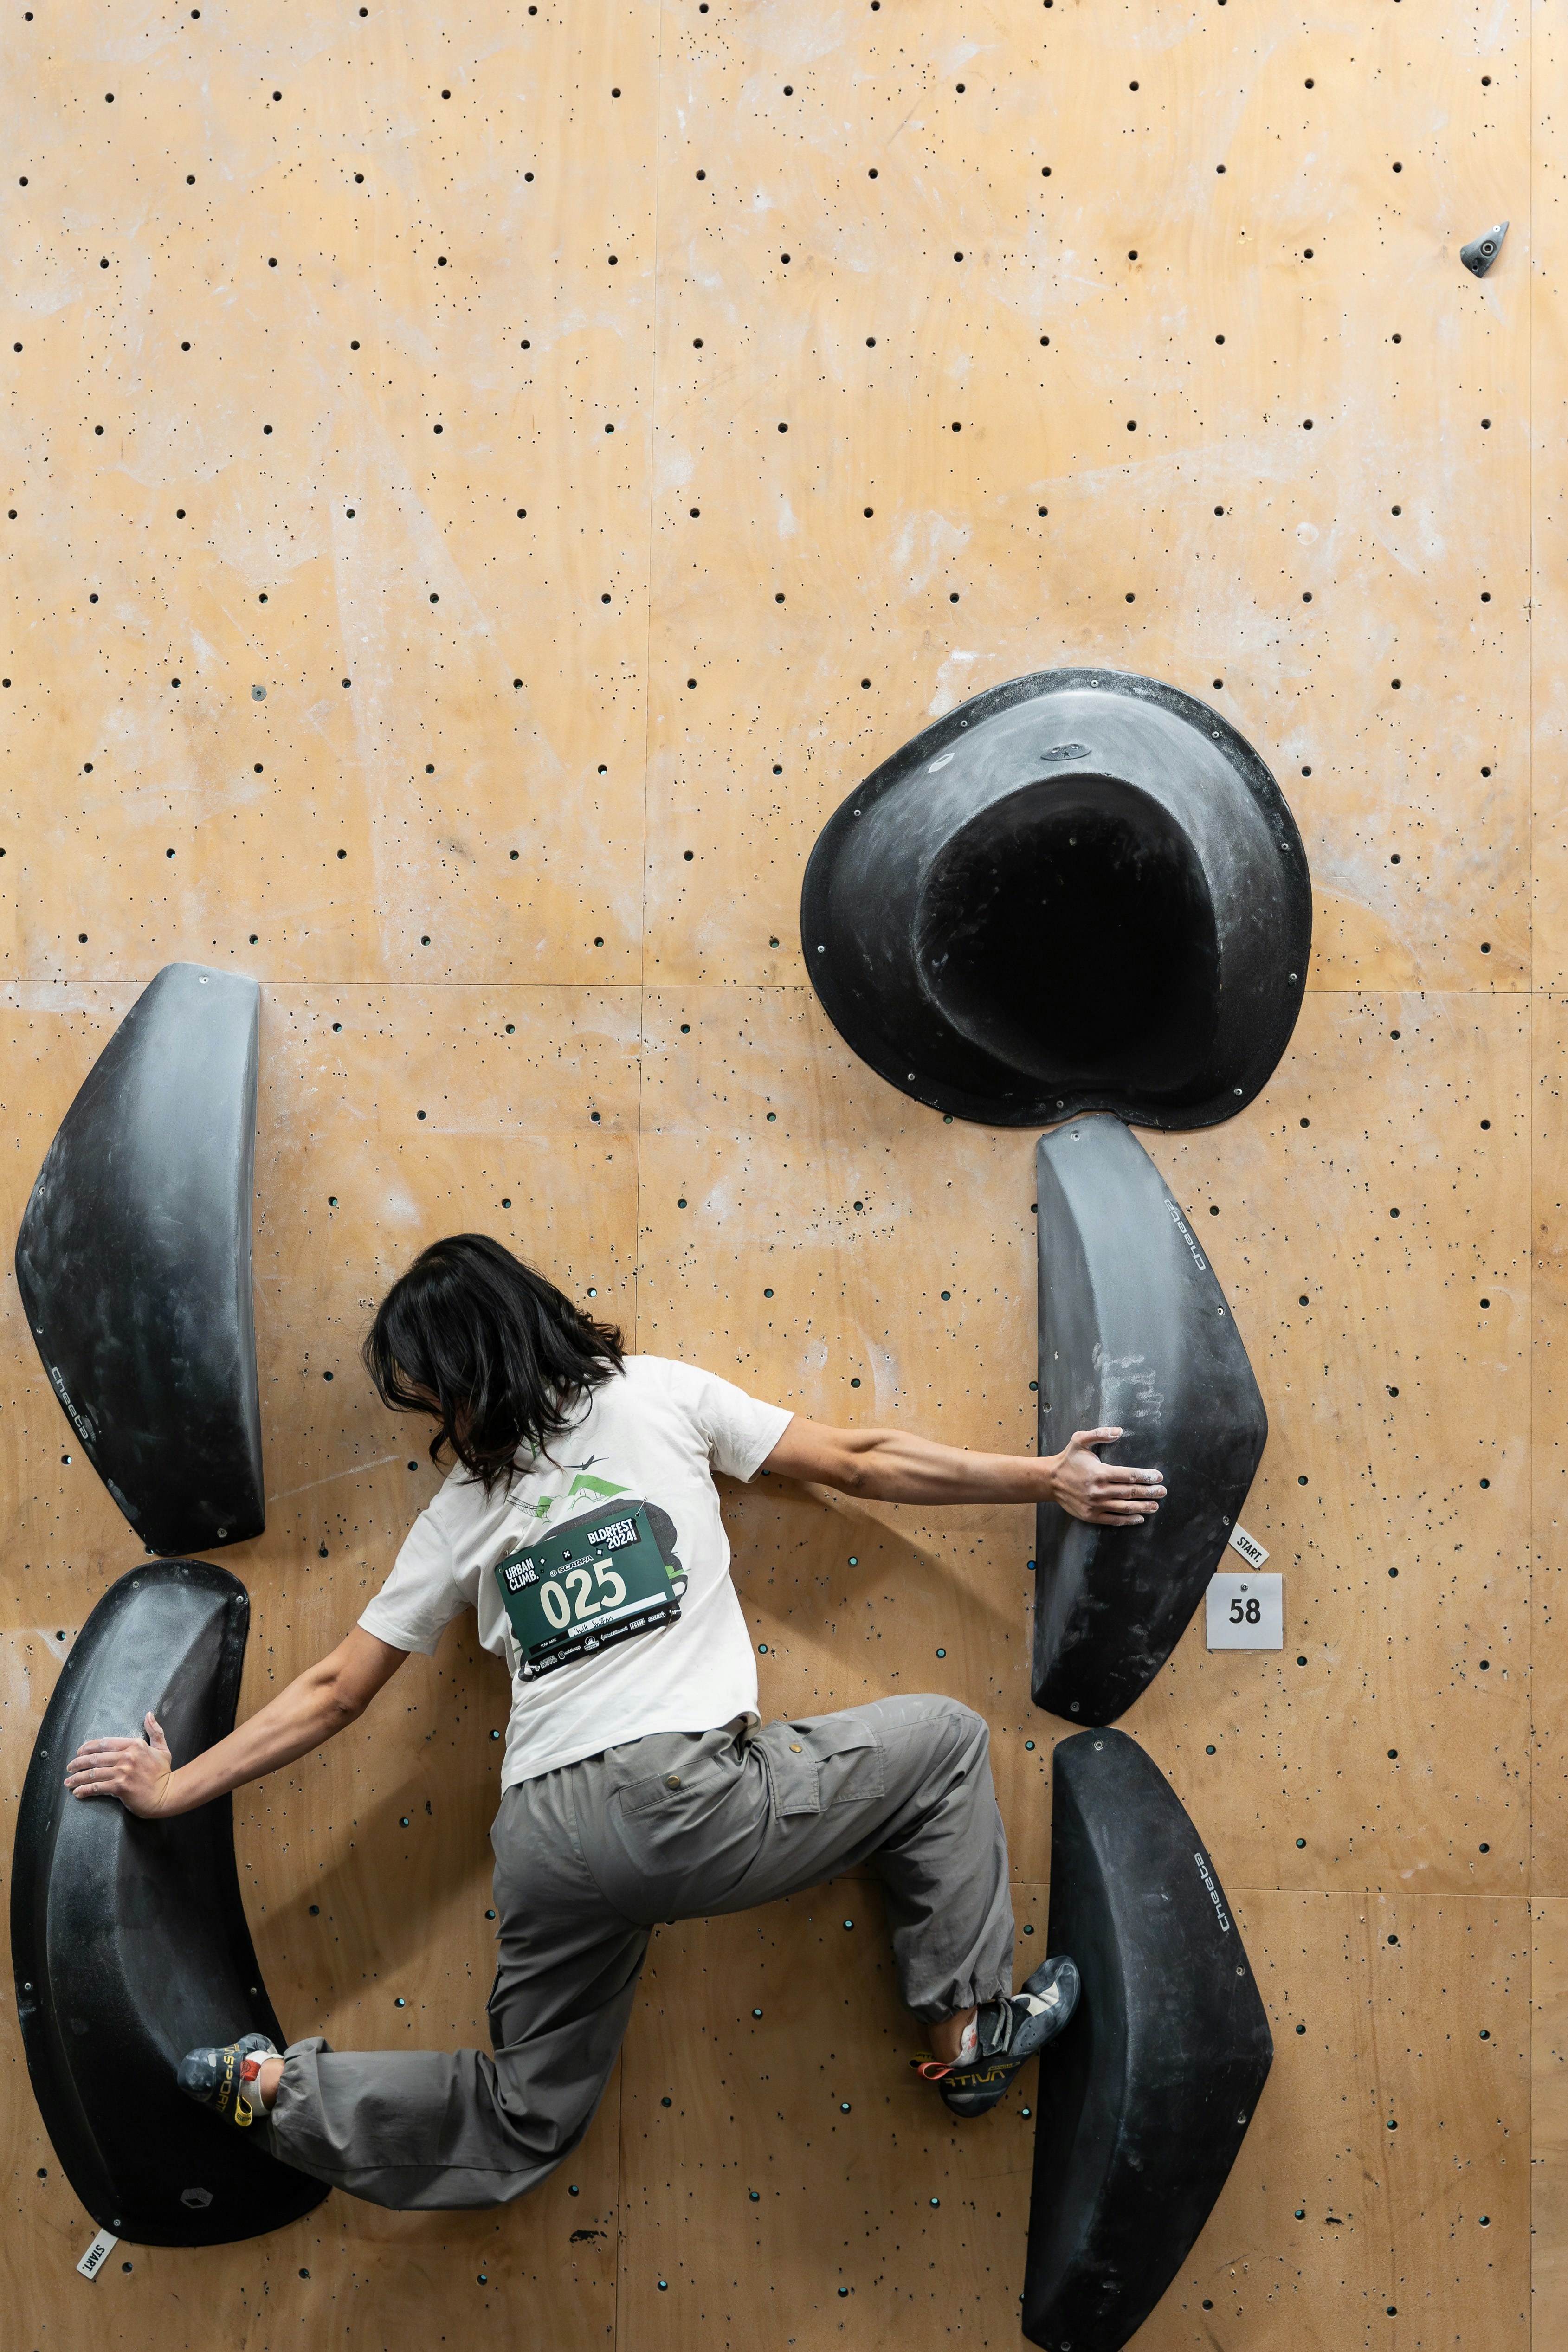
In bouldering, one of the first movement skills I teach beginners is flagging. Flagging is when I extend one leg out to the side (or slightly behind me) to counterbalance my body so I don’t swing off the wall when I reach. I’ve used this constantly over the years—especially on problems where the holds are off to one side and my body wants to “barn-door” (swing outward like a door). When I flag correctly, I instantly feel more controlled because my hips stay closer to the wall and my weight stays over my feet instead of ripping me away from the holds.
Another technique I rely on a lot is smearing, and I want to be clear about what it is: smearing is when I press the rubber of my climbing shoe directly against the wall even when there isn’t a real foothold. This happens all the time on slab or on volumes where the footholds are tiny or spaced out. When I smear, I focus on steady pressure through my toes and keeping my hips in, because if my hips drift away, the smear feels slippery and useless. With experience, I’ve learned that smearing isn’t about “finding” a foothold—it’s about creating enough friction with good body position to stay stable.
I also pay close attention to my arm position, because it’s one of the easiest ways to save energy. A lot of beginners climb with bent arms the whole time, almost like they’re doing a nonstop bicep curl. I used to do that too, and it wrecked my endurance fast. Now, whenever the wall allows it, I hang with slightly straighter arms and relaxed shoulders. That way, my skeleton supports more of my weight and my muscles don’t burn out as quickly. I still bend my arms when I need power, but I try not to “live” in that position.
When I combine these three ideas—flagging for balance, smearing for friction, and straighter arms for endurance—I feel smoother and more efficient on the wall. Instead of fighting every move, I’m staying stable, wasting less energy, and giving myself more attempts on a problem before I get pumped. These are exactly the kind of beginner bouldering techniques that make climbing feel easier, even before you get stronger.
Planning Before You Start
Sometimes it feels amazing to flash a problem (finishing a wall on your first try) and I won’t lie, I still chase that feeling. But with experience, I’ve learned that the biggest difference between a lucky flash and a consistent flash is what I do before I even touch the start holds. I try to treat every bouldering problem like a puzzle. Instead of jumping on right away, I take 15–30 seconds to actually study the wall and build a quick plan. That short pause saves me energy, prevents sloppy attempts, and usually helps me climb cleaner.
When I’m previewing a problem, I scan it in a simple order: I find the start holds, then the finish hold, then I look for the best footholds and any key body positions I’ll need. I ask myself, Where do my hands go next? Where do my feet go next? Which foot should move first? If there’s a reachy move, I’ll also think about what my hips need to do—because if my hips are in the wrong spot, that reach becomes way harder than it needs to be. Even if I don’t have the perfect sequence, having a rough plan stops me from panicking mid-climb.
If I fall, I don’t just hop back on and repeat the exact same attempt like nothing happened. That’s something I used to do a lot as a beginner, and it usually just made me tired without teaching me anything. Now I treat every fall like feedback. I’ll stop for a second and ask, What was the reason I fell? Was my foot too low? Did my hips swing out? Did I rush the move and miss the best foothold? Then I change one thing at a time—maybe I adjust my foot placement by a few inches, maybe I shift my weight earlier, or maybe I slow down and focus on staying balanced through the move.
That’s how I actually improve instead of just throwing attempts at the wall. Planning turns bouldering into a skill-building process, not just random effort. Over time, those 15–30 seconds of thinking adds up to more flashes, fewer wasted attempts, and way faster progress—especially as a beginner.
Recovery Tips for Beginner Bouldering
Bouldering can honestly feel like you’re gripping sandpaper for an hour straight, and I’ve learned the hard way that it’s not just your muscles that get tired—your skin, fingertips, and tendons take a beating too. That’s why pacing myself matters, especially if I want to climb consistently and not be forced to take time off. Early on, I used to keep throwing attempts at problems until my hands were raw and my forearms were cooked, and then I’d wonder why my performance dropped so fast. Now I treat recovery as part of training, because it’s what lets me climb more often and improve faster.
Before I even try anything hard, I always start with a warm-up. I do a few easy climbs to get my heart rate up and get blood flowing into my fingers, forearms, and shoulders. Then I add quick mobility work—mostly wrists and shoulders, because those areas take a lot of stress when you’re grabbing, pulling, and stabilizing. Even just a couple minutes of wrist circles, shoulder rolls, and gentle stretches makes a difference. When I skip that step, I notice I feel stiff and “snappy” on the wall, like my body isn’t ready to move smoothly yet.
Between attempts, I’ve also learned not to rush. Taking short breaks isn’t being lazy—it’s being smart. If I hop back on the wall immediately after a hard try, my grip and forearms usually aren’t recovered, and my next attempt is sloppy. Instead, I rest long enough that I can climb with good technique again. That way I get quality attempts, not just tired ones. If my skin starts feeling thin or my fingertips are burning, I’ll switch to easier climbs, work on technique, or call it early. Skin adapts over time, but only if you give it the chance to recover.
Falling is another part of bouldering that I take seriously. I avoid trying to “catch” myself with my arms, because that’s one of the fastest ways to strain a wrist, elbow, or shoulder. What I aim for instead is a controlled landing: I check the landing area, land on both feet when I can, keep my knees bent to absorb impact, and then let my body settle onto the pads safely. If I’m off-balance, I focus on staying relaxed and protecting my joints rather than stiffening up and reaching out.
When I combine solid pacing, a real warm-up, smart rest breaks, and safer falling habits, I can climb more consistently without getting wrecked. Consistent beginner bouldering techniques plus good recovery habits are what keep me progressing—because the goal isn’t just to have one great session, it’s to keep showing up and getting better without getting sidelined.
A 60 Minute Beginner Session Guide
If I want to improve without burning out, I stick to a simple 60-minute structure that keeps my attempts focused and my technique clean. I start with a 10–15 minute warm-up on easy problems to get blood flowing to my fingers and shoulders, then I do quick wrist and shoulder mobility. Next, I spend 20 minutes on technique by repeating a few easier climbs while I focus on quiet feet, hips close to the wall, and controlled breathing. After that, I do a 20-minute challenge block where I pick one harder problem and limit myself to a small number of quality attempts so I don’t climb sloppy. I finish with a short cool down and stop early if my skin or fingers feel too beat up. This routine helps me progress faster because I’m practicing the right habits instead of just throwing tired attempts at the wall.
Grip & Handhold Techniques for Beginners
As a beginner, I used to think the secret to getting better was “more grip strength,” so I squeezed every hold like my life depended on it. That’s exactly why my forearms got pumped fast and my fingers felt sore the next day. Over the years, I learned that grip is a technique problem first. On most jugs and edges, I aim for a calmer open-hand grip where my fingers drape instead of crimping hard. I focus on pulling with my back, keeping my shoulders engaged, and breathing on harder moves. The moment my shoulders creep up toward my ears, I reset. Tension spreads fast in climbing, and it steals attempts.
How to Use Common Holds
On sidepulls (a hold you grab from the side and pull sideways toward your body, like pulling a door handle toward you), I don’t yank straight down. I rotate my hips toward the hold and pull across my body so my feet and core share the load. On underclings (a hold you grip from underneath with your palm facing up; you “pull in” while your feet push you upward), I keep my feet high and try to stand up through my legs. If my feet are low, underclings feel impossible. On slopers (rounded, smooth holds with no real edge—you rely on friction and open-hand pressure instead of crimping), I think “pressure and position.” I keep my palms open, press into the hold, and shift my hips so I’m pushing in the direction the sloper supports.
Quick Drill to Build Efficiency
A drill that leveled me up is the “quiet grip” rule: I climb an easier problem using the least force possible. If I slip, I don’t instantly squeeze harder — I adjust my feet and hips first, then try again. This teaches my body to use balance instead of panic-gripping. Over time, it helps my skin last longer, reduces elbow strain, and gives me more quality attempts every session.
Over time, that mindset keeps my skin healthier, reduces elbow strain, and lets me get more attempts every session.
Recent Climbing News
I found a recent article from Gripped Magazine called "Indoor Climbing Industry Continued to Grow in 2025", and it explains how indoor climbing kept expanding across North America. The article reports that 53 new climbing gyms opened in 2025, which resulted in 41 net new gyms after closures were counted. It also says climbers gained 356,314 square feet of new climbing terrain, which shows just how much the sport continues to grow.
I think this article is important for new climbers because it shows that climbing is becoming more accessible. More gyms means more chances for beginners to learn techniques, practice safely indoors, and become part of the climbing community. For a beginner website like mine, that growth matters because it means more people are looking for helpful advice on footwork, balance, movement, and recovery. Indoor gyms are often the first place where beginners feel comfortable trying climbing, so seeing the sport expand is exciting.
One quote that stood out to me was, “Boom times are over.” I found that interesting because even though the article shows growth, it also suggests the climbing industry is changing. To me, that means climbing is growing in a more realistic and steady way instead of in one huge surge. That could be a good thing because it gives gyms more time to focus on safety, route setting, coaching, community, and beginner-friendly spaces.
Overall, I think this article gives a useful picture of where indoor climbing is headed. The sport is clearly still growing, but gyms also need to stay welcoming and strong if they want to keep attracting new climbers. That balance is important if more people are going to discover and stick with bouldering long term.
What's New & Exciting!
My Favorite Picnic Spot
My favorite picnic spot in Edmonton is William Hawrelak Park because it has wide open green space, walking paths, and nice views in the river valley. I like it because it feels relaxing while still being easy to get to. To get there, I would head toward 9330 Groat Road NW and enter through the main park access. Once inside, there are picnic areas, open fields, and trails where I can relax and enjoy the scenery. It is a great place to spend time outside with friends or family.
Check out Weightlifting Myths
A lot of new climbers start lifting to build strength, but there are common myths that can make people feel like they are slowly losing progress. People also think that lifting makes people bulky which limits flexibility and range of motion but that is not true. This is an incorrect belief, to build large amounts of muscle, it takes years of structured training, specific nutrition, and consistent effort.